TotalComfort Ultrasonic Humidifier Manual
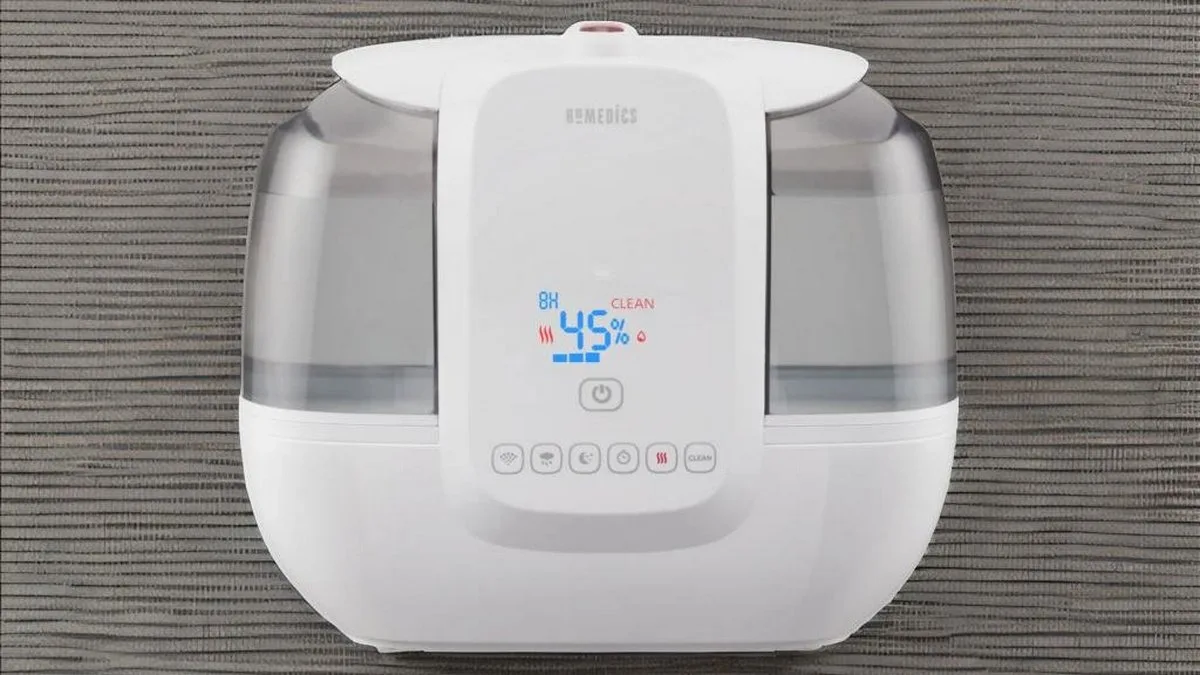
Download TotalComfort Ultrasonic Humidifier Manual Introduction: Welcome to the Homedics TotalComfort Ultrasonic Humidifier User Manual download page. This comprehensive guide will provide you with essential information about this innovative product. Product Description: Introducing the Homedics TotalComfort Ultrasonic Humidifier, a sophisticated and efficient solution to enhance your indoor air quality. This innovative humidifier combines the benefits of … Read more